A blog for lovers of succulents and cacti


Category: plant health

  • 7 Tips to Stop Overwatering and Killing your Succulents and Cacti

    7 Tips to Stop Overwatering and Killing your Succulents and Cacti

    The most common problem people have when starting out with succulents is overwatering. Imagine a cactus in the wild. Where do you see it?—probably some sandy expanse, right? Succulents and cacti are typically desert plants, and as such they’re adapted to living in dry, arid environments. They are xerophilic, and aren’t used to receiving lots of water.

    Overwatering can cause your plants to die pretty quickly. Too much moisture in the soil:

    • causes root rot
    • prevents plants from absorbing nutrients properly 
    • attracts garden pests, and makes your soil a great breeding ground for them
    •  promotes bacterial and fungal growth

    Signs and symptoms of overwatering
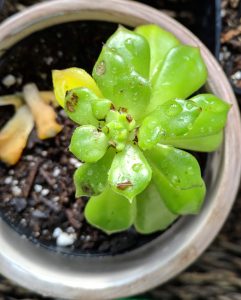
    • Wilting—succulents may become visibly sad and droopy looking
    • Yellowing leaves (chlorosis)
    • Edema—blisters and bumps that leave permanent scars on leaves
    • Leaf drop—even healthy looking new growth may begin falling off the stems.
    • Squishy stems and leaves

    How to avoid overwatering

    1. Choose the right Pots
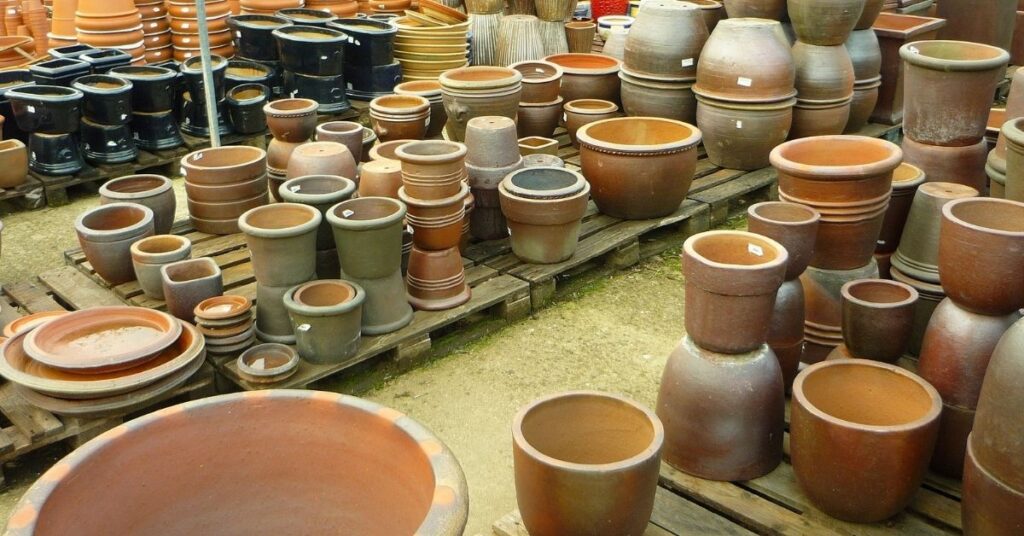
    Use pots with proper drainage. Holes in the bottom of pots allow excess water to quickly drain. Porous materials like clay, concrete, and terracotta also wick away some extra moisture and are often ideal for succulent plants.

    If your plant’s pots have proper drainage, then how frequently you water is more important than how much water you give them. Most succulents like for their roots to get a good soak, but have time to dry completely between watering.

    2. Use the right kind of soil

    Regular potting soil holds moisture well, which is great for certain plants, but for succulents and cacti you want a fast draining potting medium. If the soil compacts and doesn’t drain, then the roots sit in standing water and can quickly begin to rot. Once that happens, your plant’s health goes downhill fast.

    Soil can be made to drain faster by using amendments.

    Typically a good succulent soil will have two types of additives. There’s a non-organic component like coarse sand, perlite, turface, or pumice,  which prevents compacting and creates spaces that allow for better penetration and aeration. Then, there are organic components like peat moss, bark, or coconut coir (shredded husks). The organic additions hold onto some moisture and nutrients to sustain your plants.

    Premixed cactus and succulent soils are available for purchase, but even these can often be improved upon with soil amendments. For especially dry-loving plants you can make a “gritty mix” with almost no soil or organic components.

    3. Measure your water or moisture

    Measure how much water you give
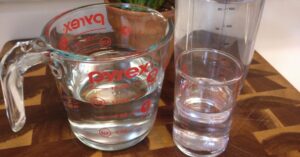
    Using a marked pitcher or measuring cup can help you control how much water you’re giving your plants. This is especially helpful if you are using pots that don’t have drainage. How much you give your plant can vary a little depending on soil type and amendments, but generally you should give it about 1/2 as much water as there is soil in the pot. For reference, a standard 4″ clay or plastic pot has a volume of about a pint (so would only need about 1 cup of water), and a 5-6″ pot has a volume of roughly one quart (could require up to 2 cups of water). 

    Measure soil moisture

    You can measure the moisture in the soil before watering again. You can do this in several different ways depending on what works best for you

    • The heft test. Pick up the pot, it should feel extremely light when the soil has dried compared to right after it’s been watered. Only water when it’s at it’s lightest.
    •  Tactile testing. Feel with your fingers, but keep in mind that just because the very top feels pretty dry doesn’t mean there’s not a lot of moisture below. 
    • Use something as a dip stick. I’ve been using a wooden kebab skewer in much the same way you might use a toothpick to test if a cake is done baking. With a dry skewer poke down to the bottom of the pot and give it a few seconds to absorb any moisture. If it’s visibly darker and has moist soil sticking to it when you pull it out, you could wait a bit longer before watering. 

    If you are the type of person who appreciates having a gadget for everything, or doubt your own assessment then check out soil moisture meters like this one from Amazon. There are several options available with extra features from around ten dollars. 

    4. Set a watering schedule

    schedule

    If you can learn the rhythm of your plants, then you could avoid some worry by keeping your watering to a routine schedule. Typically potted succulents need to be watered weekly to once every few weeks.

    Make sure to be aware that some succulents might need to be watered more or less frequently than others. To help stick to your schedule—and not worry about remembering if you watered your plants last weekend or the one before—you could mark your calendar or set  a recurring reminder on your phone or computer.

    5. Mist with a spray bottle
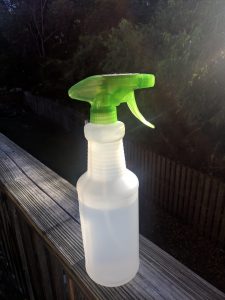
    spray bottle

    Using a spray bottle could give you great control of how much water you give your succulents, and where you want it to go. Some people recommend misting your plants, but others advise against it

    Here’s the issue, spraying the leaves and stems of plants can promote unwanted aerial root growth (hard leaved plants like haworthia/haworthiopsis are less susceptible to this). Water on the leaves could potentially cause mildew.  Also, when misting you’ll probably have a tendency to want to water more frequently, and might risk not allowing the soil dry enough

    If you do choose to mist your plants, aim for the base of the main stem and let the plant do its own job at getting that moisture to the leaves, after all that’s a succulent’s forte.

    6. Be aware of dormancy periods

    Many succulents enter a dormant period in the cooler seasons, when the days get shorter. During dormancy, plants will generally grow slowly, and not require as much water. If you were watering once a week you might end up only needing to water once a month. Keep an eye on their health and try to wait until the plants start to look a little thirsty (just barely deflated or shriveled). Some choose to skip or minimize the dormant  overwintering  phase by keeping plants indoors and using the aid of  grow lamps.

    7. Be especially careful with these  plants

    Lithops Photo by Stan Shebs
    Titanopsis Photo by Ivan I. Boldyrev

    Some succulents are extremely sensitive when it comes to getting too much water. These include Lithops (Living Stones), Mesembs, and several species of cacti. One of the first succulents I killed was a Titanopsis that was sharing a pot with some less sensitive plants.

    With these plants its advised to wait until they start to look a little shriveled, or with lithops water only when the tops start to get a little bit concave.

    It’s better to err on the side of too dry, than too damp—Shriveling plants can often be brought back to life with some water and attention, but when root rot starts, there’s usually no going back without some cutting and re-potting.

    Are these tips helping you? If so I hope you’ll like or share this post. Do you have any tips of your own?—Please share them in the comments below
  • Make a basic propagation / etiolation station

    Make a basic propagation / etiolation station

    Do you need one?

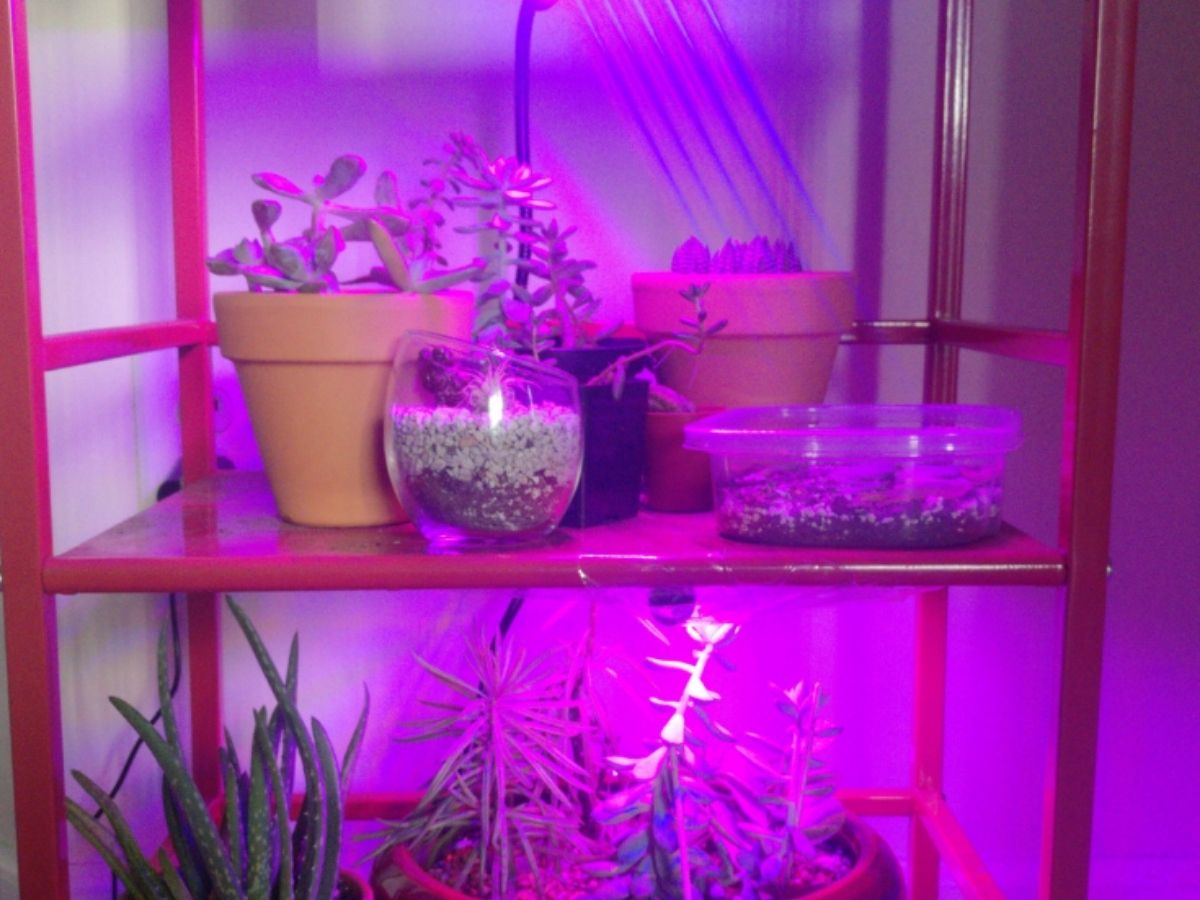
    Sometimes your plants just aren’t getting enough light and need a little extra care. Most succulents prefer a minimum of 6 hours of bright, direct sunlight a day. When plants aren’t getting enough light they start to etiolate or stretch out in search of more. This causes  the stems to elongate, leaving large gaps between the leaves, and losing the distinct rosette shape many succulents have.

    Another instance where you might want a setup like this is to encourage and speed up propagation by having better control of growing conditions. 

    Combining two items can make a world of difference and your plants health and growth.

    (more…)
  • Succulent salvage—clearance plants

    Succulent salvage—clearance plants

    The other day I took a quick trip over to the Lowe’s garden center. Initially I was just going in to find a drill bit for a future project—hopefully I’ll be adding some drainage holes to some cheap ceramics and glass that will make great succulent planters. I’ll let you know how that goes in the future.

    Of course I had to go look and see what they had in stock. I’m hunting for some Lithops or living stones—as usual nothing like that to be found. I sighed about the coloring crimes that were committed to these cacti and walked away.

    painted atrocities

    Check out the rear.

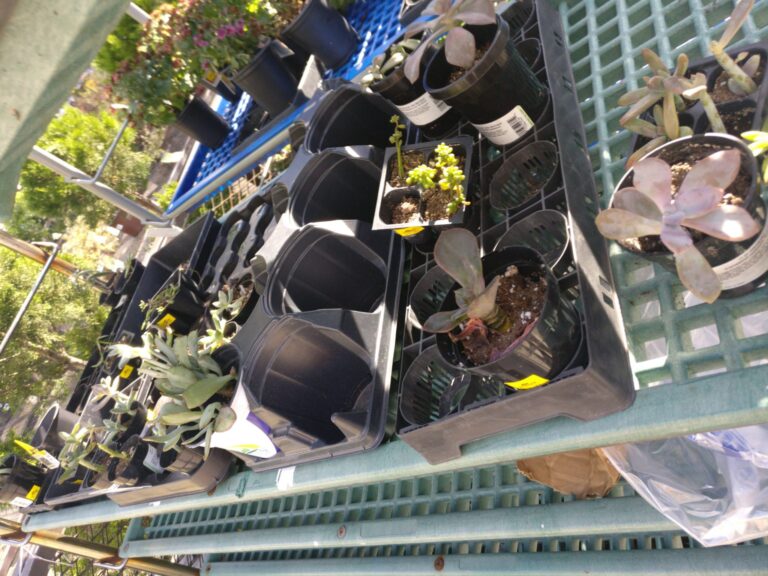
    In most Lowe’s and Home Depot garden centers, if you make your way toward the back you’ll often find a clearance shelf. These are usually plants that have been damaged or need some extra TLC. I feel like I always end up looking for plants that need saving.

    clearance time

    My city was recently devastated by hurricane Florence. Any of the poor little plants that got left in the outdoor garden center didn’t  have much of a chance. There were pots without dirt, pots without plants, and pots with mushy, rotted, and dead stuff.

    the shelf of sadness

    The score.

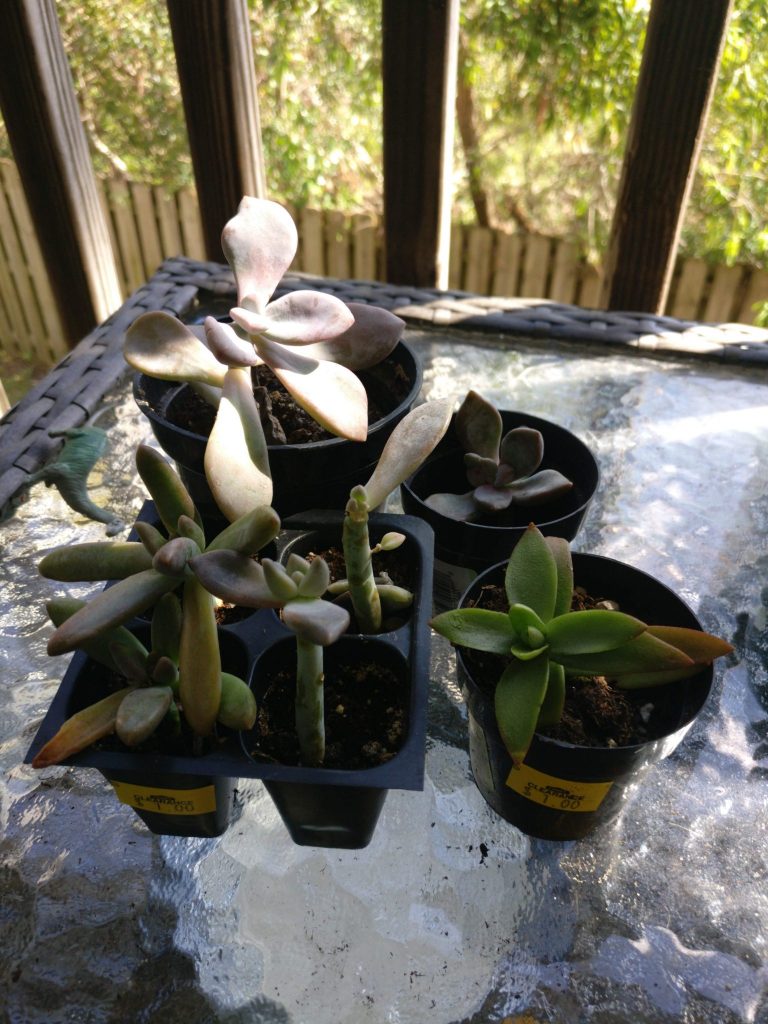
    Here are the few plants I ended up with bringing home for my succulent salvage

    • Graptopetalum pentandrum ‘Murasaki’ (top left)
    • Graptopetalum paraguayense ‘Ghost plant’ (bottom left)
    • Pachyphytum spp. (top right)
    • Crassula Capitella ‘Campfire Plant’ (bottom right)

    Total cost $3.50

    re-potting

    I unpotted all of the plants and knocked/raked most of the soil off the roots with a bamboo kabob skewer.

    There’s actually some pretty good roots left on most of these, which is usually not the case when it comes to clearance—Often they end up over there because of root rot, but even those can sometimes be saved.

    Because of the high humidity in my area, and my tendency to occasionally get carried away with watering, I like to add extra soil additives to improve drainage. Here, I’ll mix up some Miracle-Gro Cactus, Palm and Citrus Potting Soil Mix with some pumice that I bought a bulky bag of.

    Putting the succulents in the pot with varying levels of dirt can help make up for differing stem lengths.

    The campfire plant didn’t actually even have any roots on it when I took it out of its pot. There was just a bit of dead stem, which I snapped of before dipping it in some Garden Safe TakeRoot rooting hormone.

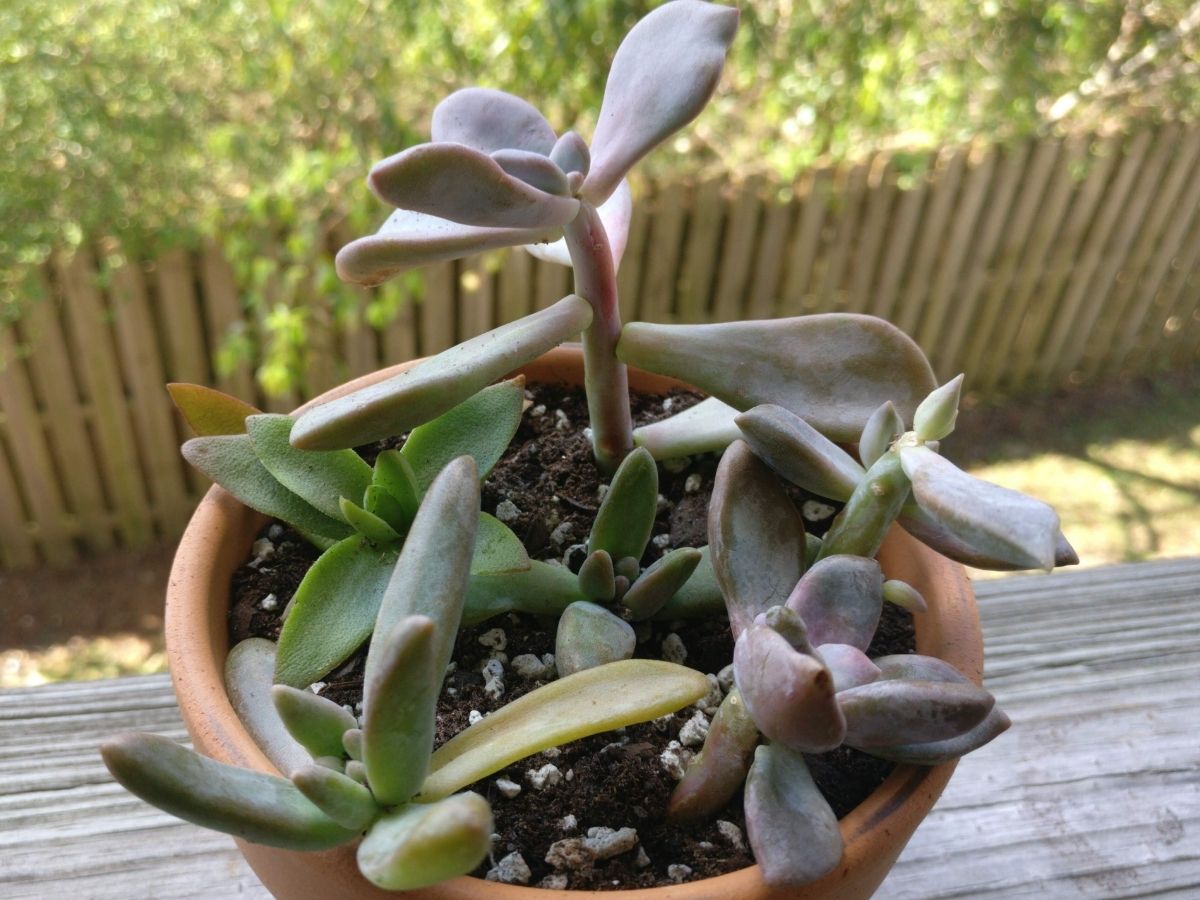
    This was the end result. It’s not my proudest arrangement, but it will suffice as an intensive care unit while these guys strengthen and recover, and hopefully they will fill out in short time. After potting everything up, I gave them a pump of Miracle-Gro Succulent plant food, and put them under the grow lamp in my etiolation station.

  • Separating Haworthiopsis for propagation

    Separating Haworthiopsis for propagation

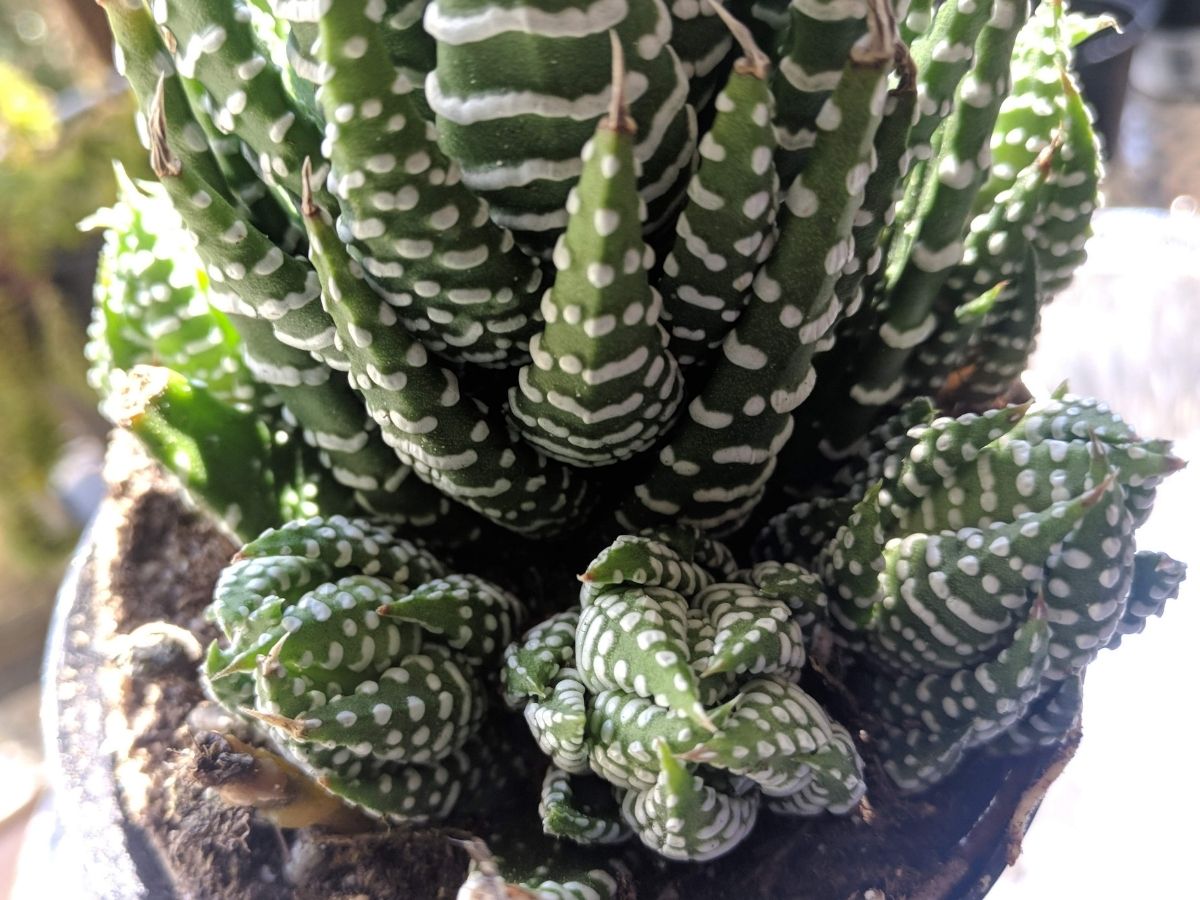
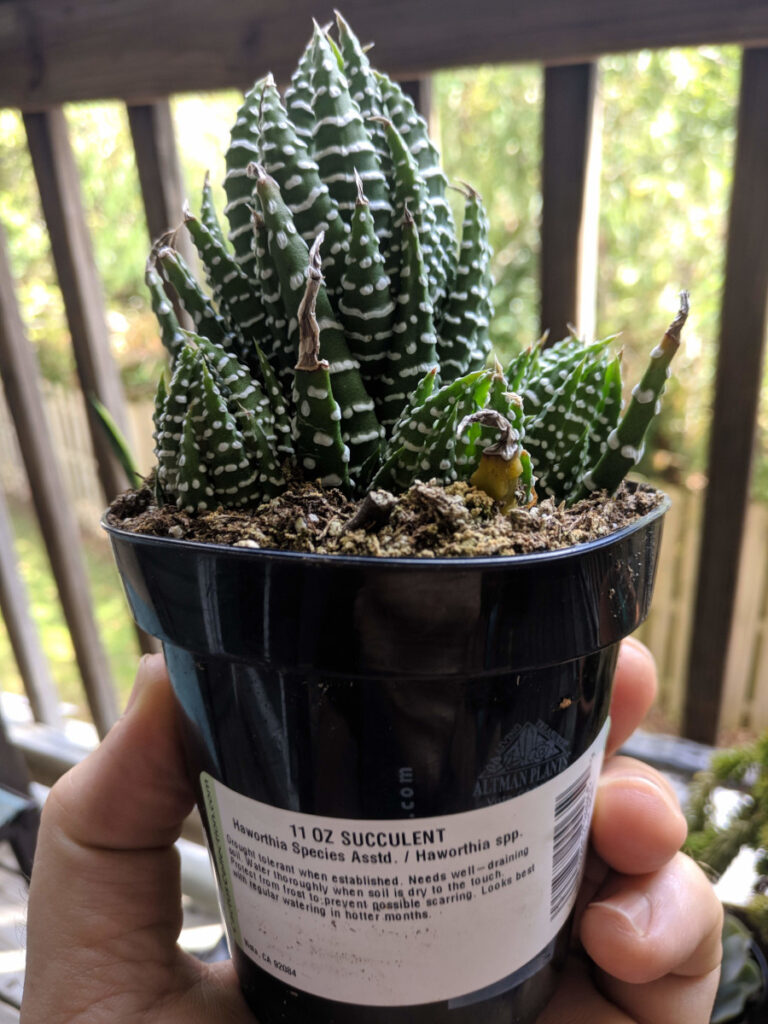
    I recently picked up this succulent at Lowe’s.

    It was labeled generically as haworthia asstd./haworthia spp. I’ve since been told it may likely be haworthiopsis coarctata, and a stop over at Wikipedia certainly validates the opinion that it is a haworthiopsis of some kind.


    The plant looked pretty crowded in its pot, and I wanted to separate some of the pups for propagation.

    (more…)
  • Quarantine succulents to keep problems from spreading.

    Quarantine succulents to keep problems from spreading.

    Whether we’re talking about new plants you just brought home or one of your favorite plants starting to look sickly, a good safety measure can be to quarantine succulents.

    quar·an·tine
    kwôrənˌtēn/ noun
    a state, period, or place of isolation in which people, plants, or animals that have arrived from elsewhere or been exposed to infections or contagions are placed.

    New plants

    So here’s the thing, pests and other problems can spread quickly among a close population, and big store shelves full of plants make excellent breeding grounds for them. When you bring home some new little succulent or cactus, you don’t really know what else you might be bringing in with them. Surely you’ve inspected the plant before buying it, just to make sure it’s in good health, but there could potentially be pests, insect eggs, fungus, or bacteria in the soil that you won’t see. That’s why I recommend quarantining your new plants for a short while to make sure there are no unwelcome guests.

    (more…)
  • How to Sterilize Soil

    How to Sterilize Soil

    Why would you sterilize soil?

    Taking the precaution to sterilize soil can kill off insect eggs, fungi, and bacteria that could potentially cause harm to your plants.

    In my previous post, Why All My Succulents Almost Died and What I Did To Save Them, I discussed needing to re-pot my plants because of over-watering, root rot, and an infestation of mealybugs. I didn’t want to run into the same problems with bugs and bacteria. This time, I decided to sterilize the soil first.

    If you were potting some plants and ran out of fresh dirt, you can sterilize the old soil to make sure no contaminants are living in it before reusing.  Because I was weary over my recent bout with pests, I was using a fresh new bag of Miracle-Gro cactus and citrus mix the when I decided to try soil sterilization, but you can also use this method to freshen up old soil before re-potting.

    (more…)
  • Why all of my succulents almost died—and what I did to save them.

    Why all of my succulents almost died—and what I did to save them.

    What happened?

    A little over a month ago nearly all of the succulents on my porch started showing signs of deterioration. It started with one pot at first—my most recently acquired echeveria. I watched in dismay as the problem spread to my other succulents over the course of the next two weeks. Leaves were falling off, and my previously fat little plants were shriveling up. After a thorough inspection, there were a few of the most common issues happening at the same time. Here’s why all of my succulents nearly died:

    (more…)